The Pilgrimage
Play The Pilgrimage
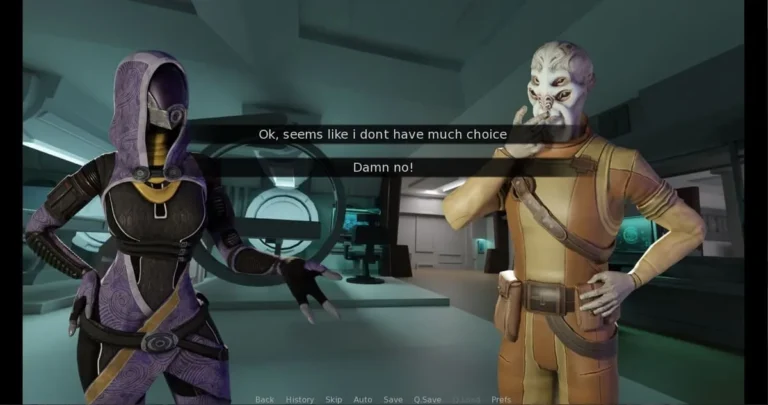
The Pilgrimage Screenshots


The Pilgrimage review
An in-depth guide, personal take, and practical tips for players of The Pilgrimage
The Pilgrimage is a narrative-driven indie game that blends tactical encounters with a layered story about faith, loss and personal journeys; this article unpacks the game’s mechanics, characters, and practical play advice to help you get the most from the experience. In the first paragraphs I’ll summarize the game’s premise and immediate player goals so you know what to expect, then I’ll share personal anecdotes from my play sessions, actionable strategies, and community-sourced tips. Whether you want a spoiler-free orientation or tactical suggestions for key encounters, this guide will walk you through the essentials of The Pilgrimage.
Gameplay Overview: Mechanics, Combat and Progression
Welcome, fellow traveler. 👋 If you’re here, you’ve taken your first steps into the beautiful and challenging world of The Pilgrimage, and you’re looking to understand its heart: the The Pilgrimage gameplay. This isn’t just another hack-and-slash; it’s a thoughtful, tactical dance where every decision matters. In this deep dive, we’ll unpack the core systems that make combat so rewarding and share the strategies that transformed me from a struggling novice into a confident party leader.
Grab your gear, check your supplies, and let’s get into the mechanics that will define your journey.
Core systems and controls in The Pilgrimage
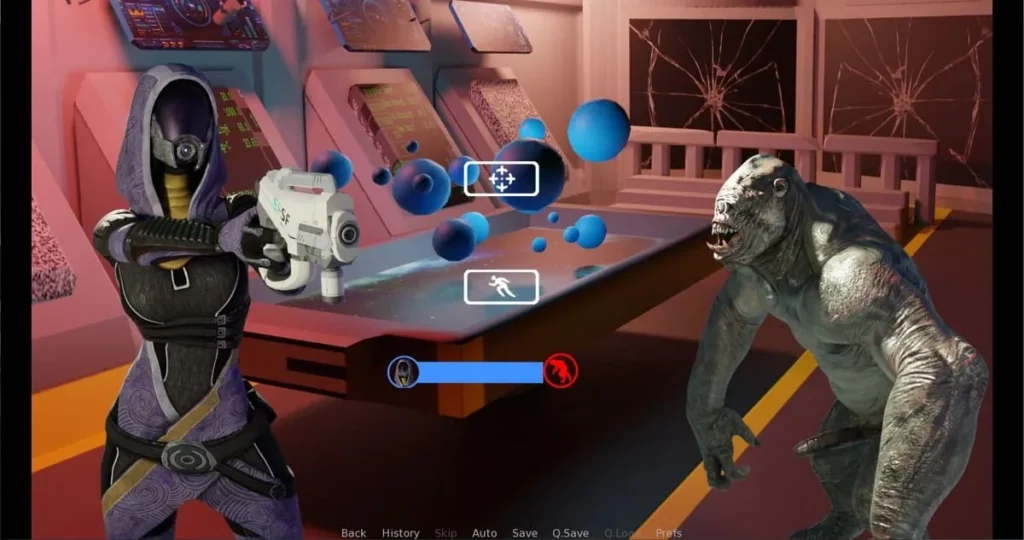
At its core, The Pilgrimage gameplay is a magnificent blend of real-time movement and tactical, pause-and-plan command. You directly control your main character with intuitive movement keys, while your companions follow your lead and act on their own programmed logic. 🎮 But the magic—and the strategy—kicks in the moment you enter a fight.
The battlefield is your chessboard. Where you and your allies stand in relation to enemies isn’t just cosmetic; it’s foundational to survival and victory. This positioning mechanics Pilgrimage philosophy means that being flanked or caught in a narrow pass can be a death sentence, while holding the high ground or funneling foes into a choke point can win the day.
The command system is where your tactical mind takes the wheel. Abilities are not simple clicks. You’ll need to select a skill, then often place its area of effect or choose a specific target. Healing a friend requires you to accurately select them, not just press a “heal party” button. Laying down a damaging zone requires careful aim. This deliberate pace is supported by the game’s brilliant ATB system tactical pause.
Think of it like this: time is always flowing in combat, but you have a sacred “pause” button. This isn’t a full stop, but a tactical breather. When you activate it, everything slows to a crawl, allowing you to survey the battlefield, queue up commands for every character, and plot the perfect sequence of actions. Mastering this ebb and flow—between frantic real-time positioning and calm, calculated planning—is the key to mastering The Pilgrimage gameplay.
Combat tactics: using positioning, area effects and ATB pauses
This is where theory meets practice. Let’s break down the tools in your tactical kit.
First, understand your skills. They generally fall into three categories:
* Single-Target: Your precision tools. Perfect for finishing off a weakened enemy or focusing down a high-threat target.
* Cone/Close-Range: Devastating but risky. These require you or your companion to be in the thick of the fight, hitting multiple enemies in a frontal arc or point-blank area.
* Ground-Targeted (AoE): The crown jewels of tactical play. These area of effect skills The Pilgrimage offers let you paint death or salvation on the battlefield itself. You can drop a circular blast between two enemies to hit both, or place a healing zone at your party’s feet during a desperate stand.
| Skill Type | Best Use Case | Counterplay & Tip |
|---|---|---|
| Single-Target | Eliminating key targets (healers, casters), breaking defenses. | Use during an ATB system tactical pause to focus fire. Watch for enemy blocks or dodges. |
| Cone/Close-Range | When enemies are clustered, or for a tank holding a line. | High risk! Mind your positioning mechanics Pilgrimage. Don’t let your fighter get surrounded after using one. |
| Ground-Targeted (AoE) | Controlling space, damaging groups, healing allies in a zone. | Anticipate enemy movement. Place it where they will be, not where they are. Combo with crowd control. |
Now, how do you glue this all together? With the ATB system tactical pause. Here’s a personal story that made me a believer:
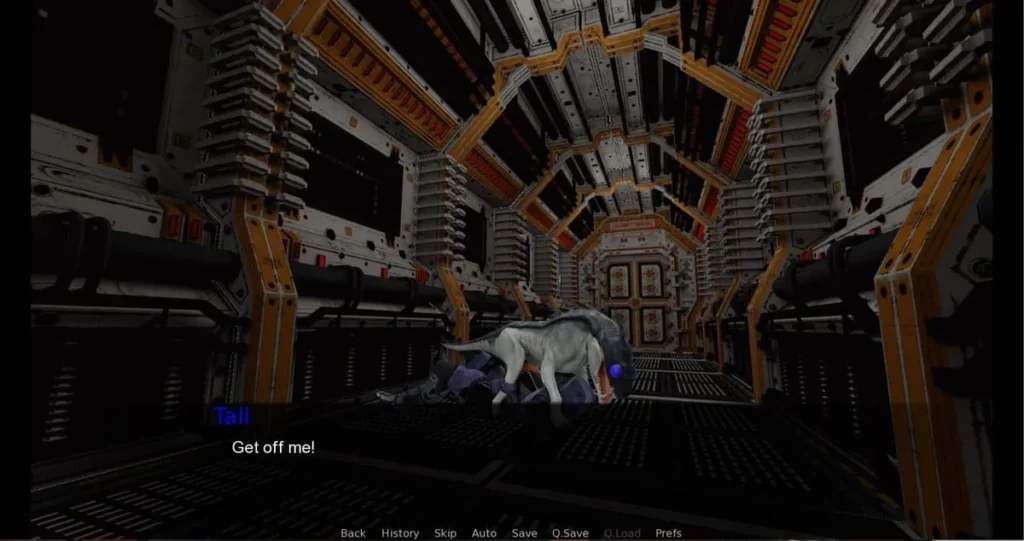
I was on a narrow stone bridge, my party battered from a previous scuffle. Two armored brutes advanced from the front, and a sneaky archer started pelting us from a ledge behind. We were getting crushed in a pincer. In a panic, I hit the tactical pause. 🛑 The world slowed. I saw it: the brutes were lined up perfectly. I commanded my mage to queue her strongest line-of-fire spell down the bridge. I told my tank to use a taunt, then step back, luring the brutes into the kill zone. Finally, I directed my own character to break off and scramble up the side-path to deal with the archer.
I unpaused. The plan unfolded in real-time: the brutes charged, ate the full-force spell, and were left reeling. My duel with the archer was tense, but without the front-line pressure, I won. That fight, a certain loss, became a clutch victory because of one perfectly timed ATB system tactical pause and smart repositioning.
Practical Combat Tips The Pilgrimage veterans use:
Always be moving. Standing still is for targets. Use movement to dodge obvious telegraphed attacks and to set up your own area of effect skills The Pilgrimage.
Pause early, pause often. Don’t wait for a crisis. Use the tactical pause to issue one or two commands, then unpause to see them execute. It’s a rhythm.
Positioning mechanics Pilgrimage rule #1: Protect your backline. Your healers and mages are fragile. Use terrain to your advantage—put them behind a rock, with your tank between them and the enemy.
Progression, equipment and companion development
Your power growth in The Pilgrimage feels meaningful and directly tied to your choices. It’s not just about getting bigger numbers; it’s about refining your party’s role and synergy.
Character Growth & Equipment: You’ll find and craft gear that offers clear stat upgrades and, more importantly, powerful unique effects. A sword might boost damage, but a shield that grants a chance to stun on block changes how your tank plays. Always consider the special effect over a minor stat boost. Upgrading this gear at forges is usually straightforward but essential for keeping up with the world’s challenges.
The real depth, however, lies in companion progression Pilgrimage. Your allies are not static. As they journey with you, they gain experience and levels, but you also influence their growth through skill unlocks and gear choices. ✨
Each companion has a talent tree that often branches, allowing you to specialize them. Your stalwart knight could be steered toward becoming an immovable fortress, stacking defensive buffs and taunts, or you could focus on a more aggressive path with counter-attacks and area threats. This companion progression Pilgrimage system means your party composition is wonderfully flexible.
Early-Party Build Suggestion:
* The Main Character (You): Stay flexible. Early on, a balanced approach works well. Focus on skills that let you support where needed—a minor heal, a interrupt, or a reliable damage skill.
* The Tank (e.g., Valerius): Double down on his tanking role. Unlock his taunt ability first and equip him with the heaviest armor and shield you find. His job is to hold aggro and survive.
* The Healer (e.g., Elara): Protect her at all costs! Unlock her area-of-effect heal early. Gear her for Spirit (boosting healing power) and maybe some defensive stats so a stray arrow doesn’t end her.
* The Damage (e.g., Kaelen): Your rogue or mage. Choose a path: single-target assassination or crowd-control magic. Gear them for maximum damage output.
As you progress, you’ll find new companions and items that let you experiment. Maybe you’ll find a set of gear that turns your healer into a battle-priest, or a unique weapon that makes a damage-focused build for your tank viable. This evolving companion progression Pilgrimage is what makes subsequent playthroughs so exciting.
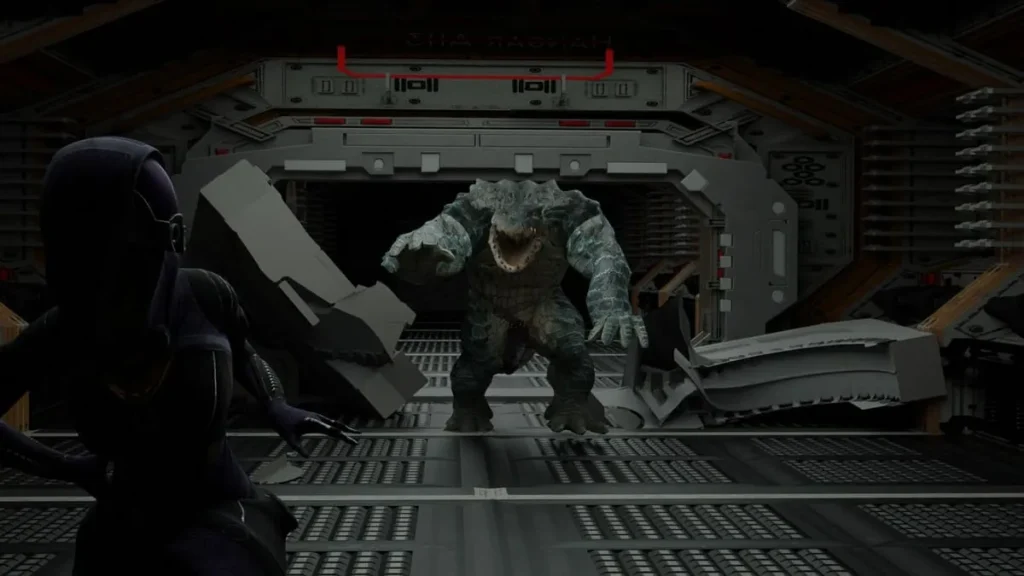
Before you charge into any fight that looks daunting, especially a boss, take a breath and run through this quick checklist. It has saved me more times than I can count:
✅ Healer Check: Is my healer’s key ability off cooldown? Do they have enough energy?
✅ AoE Coverage: Are my damaging area of effect skills The Pilgrimage ready? What’s the best place to put them?
✅ Positioning Escape Routes: Where’s my exit? If things go south, is there room to retreat and regroup, or are we backed into a corner?
✅ ATB Pause Plan: What’s my opener? Which high-threat target do we focus first? Have I assigned commands for all three party members in my first paused sequence?
Mastering The Pilgrimage gameplay is a journey in itself. It asks for your attention and rewards your strategy. By respecting the positioning mechanics Pilgrimage, leveraging the power of the ATB system tactical pause, and thoughtfully managing your companion progression Pilgrimage, you’ll be ready for whatever the winding road throws at you. Now go on, traveler. Your path awaits. 🌄
The Pilgrimage combines a thoughtful narrative with tactical combat systems that reward planning, positioning and attention to companion dynamics; this guide highlighted the game’s core mechanics, central characters, practical play strategies, installation tips, and community resources to help you navigate the experience. Try the checklist and tactics sections during your next session, explore community guides when you hit a snag, and experiment with dialogue choices to shape character outcomes. If you enjoyed this breakdown, consider sharing your own tactics or memorable story moments in community threads to help other players.